Fixing underexposed areas of images in Photoshop with Luminosity Masks
Posted: May 26th, 2014 | Tags: Photography • Tutorials | Posted in: Photography, TutorialsThe Channels Panel in Photoshop has to be one of the most under-used part of Photoshop for the casual user, but in terms of making selections, it’s incredibly powerful. My favourite use for the Channels Panel is to make luminosity (brightness)-based selections. Selecting the brightest parts of the image, and then inverting the selection allows me to raise madrone and shadow areas of the image, without overexposing already bright areas of the image with amazing accuracy.
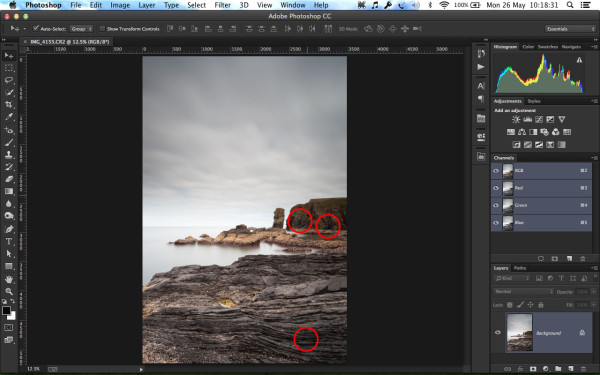
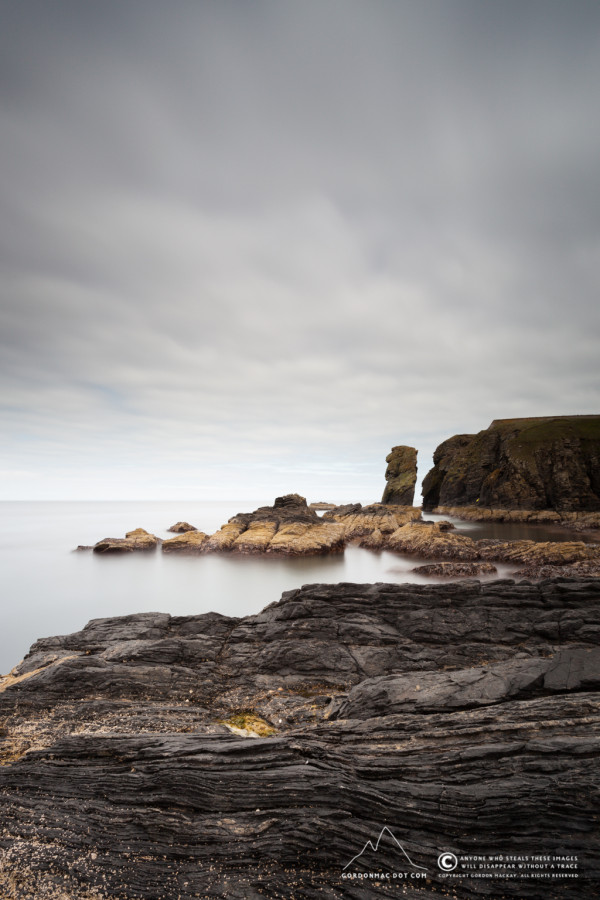
After opening the image below I noticed some areas where the shadows can be lifted slightly, but the sky is already quite bright. Increasing the overall exposure in Photoshop would likely blow out the sky, so what I want to do is only select the darker areas of the image and work from there.
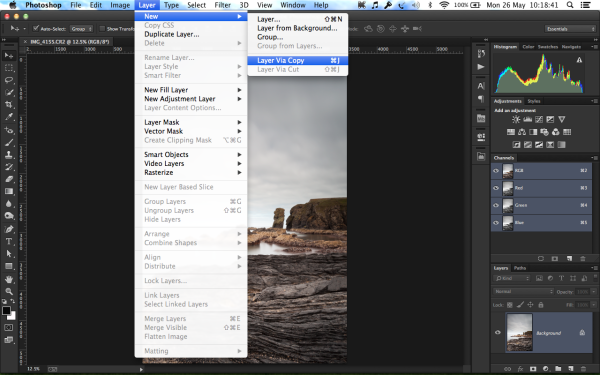
Step 1 – Duplicate the background Layer
The first step in any editing should be to duplicate the background. This means that no matter how we mess up our image, we can always get back to the original. It’s so simple that there’s no reason not to: Just go to Layer > New > Layer Via Copy or press Command J.
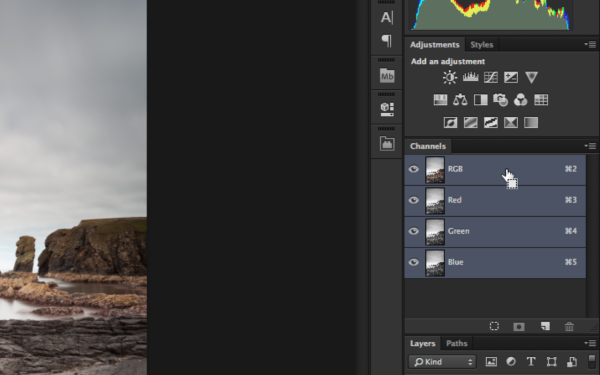
Step 2 – The Channels Panel
You can find the Channels Panel in the Window menu. It will be listed as Channels. When you open it you will see the following, a list of all the colour RGB channels: Red, Green and Blue, and at the top is a composite RGB channel. We are going to use the composite to select the brightest areas of the image.
To select the brightest area of your image press Command and click the RGB composite as shown below.
When you do this you’ll see marching ants appear around the brightest portions of your image indicating Photoshop has selected them ready for editing.
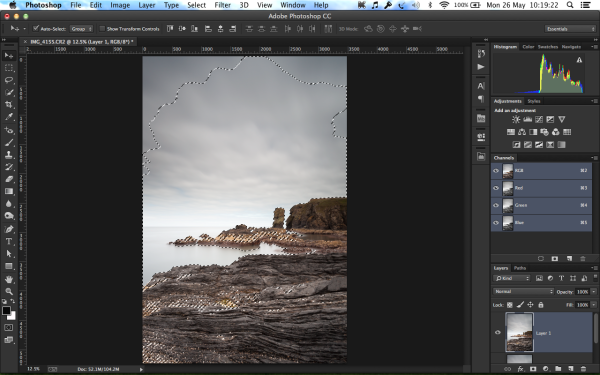
The problem is that we don’t want to edit the brightest areas of the image, we want to edit everything else, so we need to “invert” the automatic selection Photoshop made. To do this simply go to Select > Inverse or click Shift Command I.
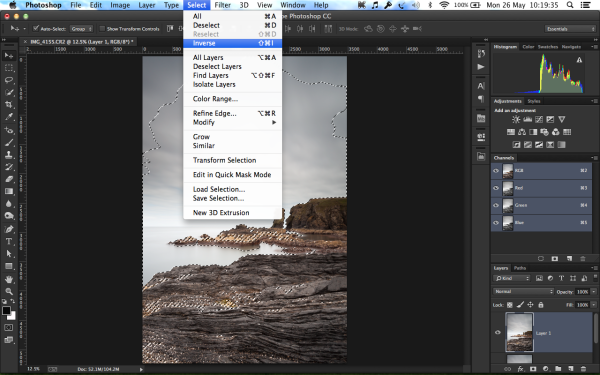
Now we have a selection of everything other than the brightest areas.
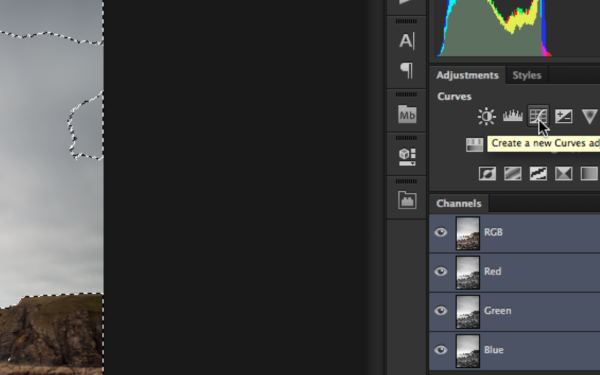
Step 3 – Create a Curves Adjustment Layer
To edit the brightness of the areas we’ve just selected we need to create a Curves Adjustment Layer. You can find the Adjustments Panel under Window > Adjustments. Once you have the Adjustments Panel open, click on the Curves adjustment shown below:
Clicking the Curves adjustment button will present you with the following dialogue box.
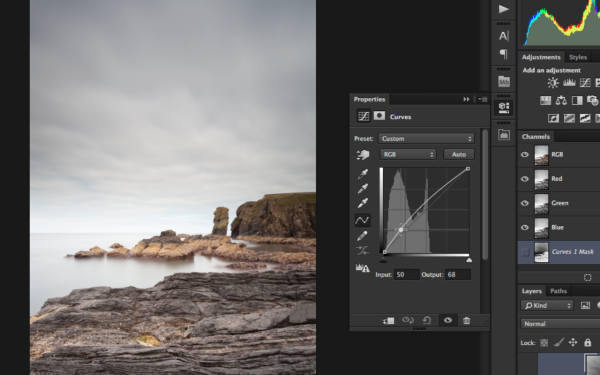
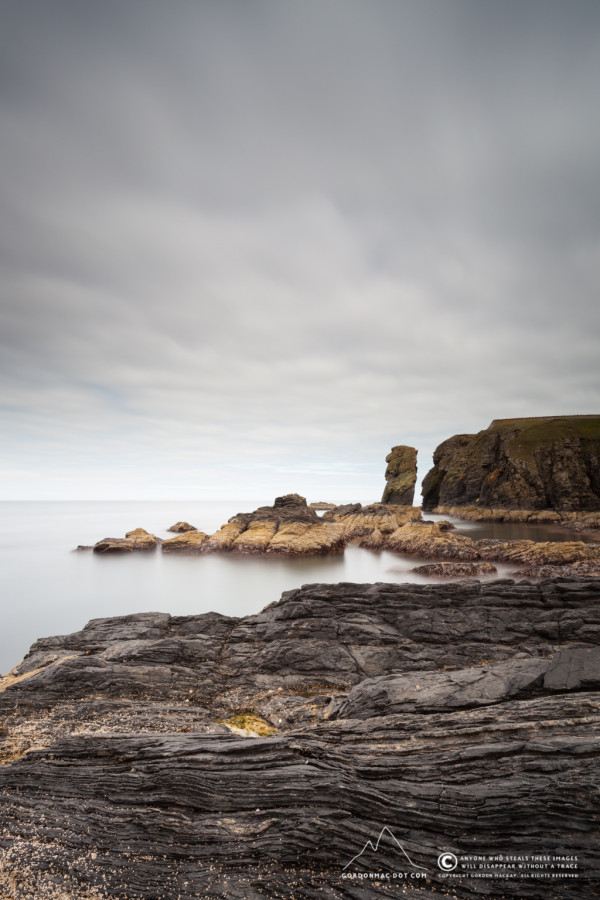
All you need to do here is click on the line at a position near the left corner, dragging upwards until the shadow areas of your image brighten up a bit.
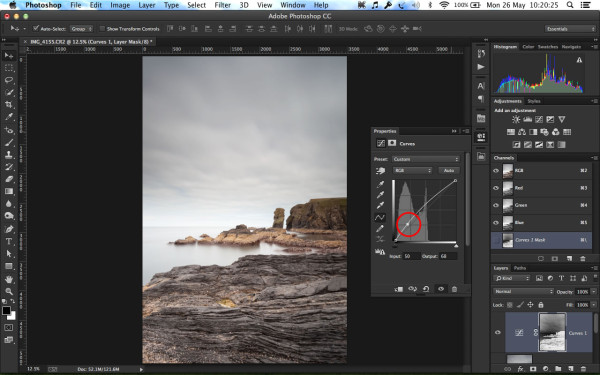
You can take this as far as you like, but I prefer to have some shadow area left in my images as they look more natural that way, but it’s up to you :)
Before and after
Have fun :)