Quickly enhancing colour in Photoshop CC
Posted: May 10th, 2014 | Tags: Photography • Tutorials | Posted in: Photography, TutorialsThere are all sorts of ways to do this in Photoshop, but this is my method. I think this may well work in Photoshop Elements, but maybe someone can let me know?
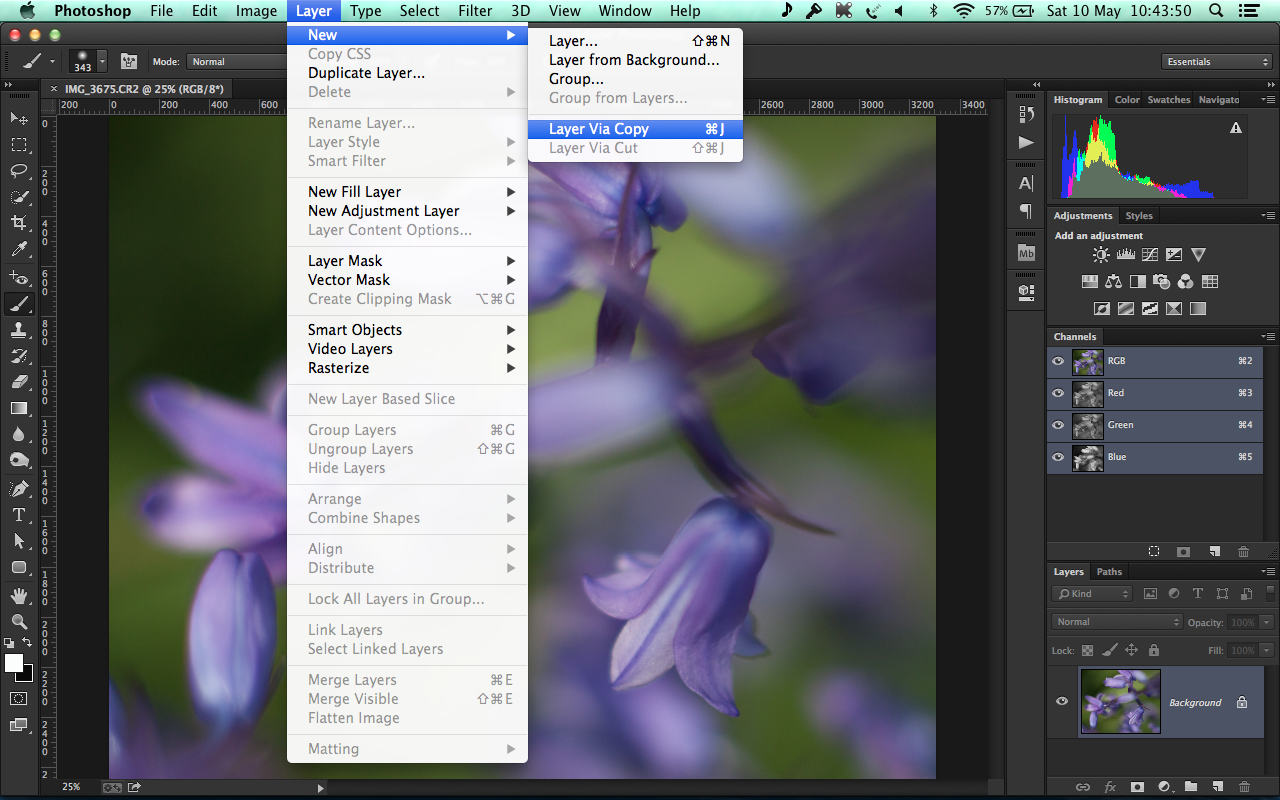
Step 1 – Open your image and duplicate the background layer
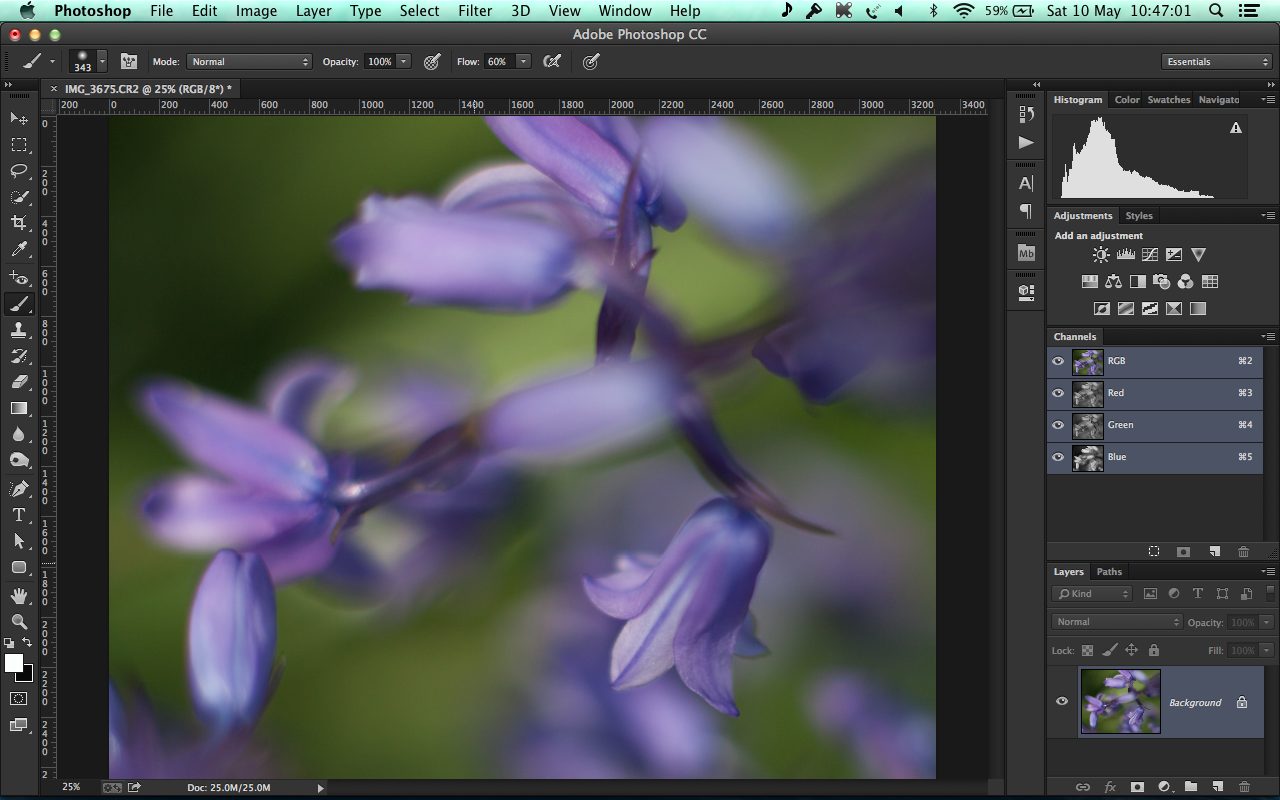
Press Command J to create a new layer via copy or go to Layer > New > Layer Via Copy.
It’s worth getting into the habit of always creating a duplicate of the background, because this way you can always revert to the original if you screw up your editing.
Step 2 – Create a new Vibrance Adjustment Layer
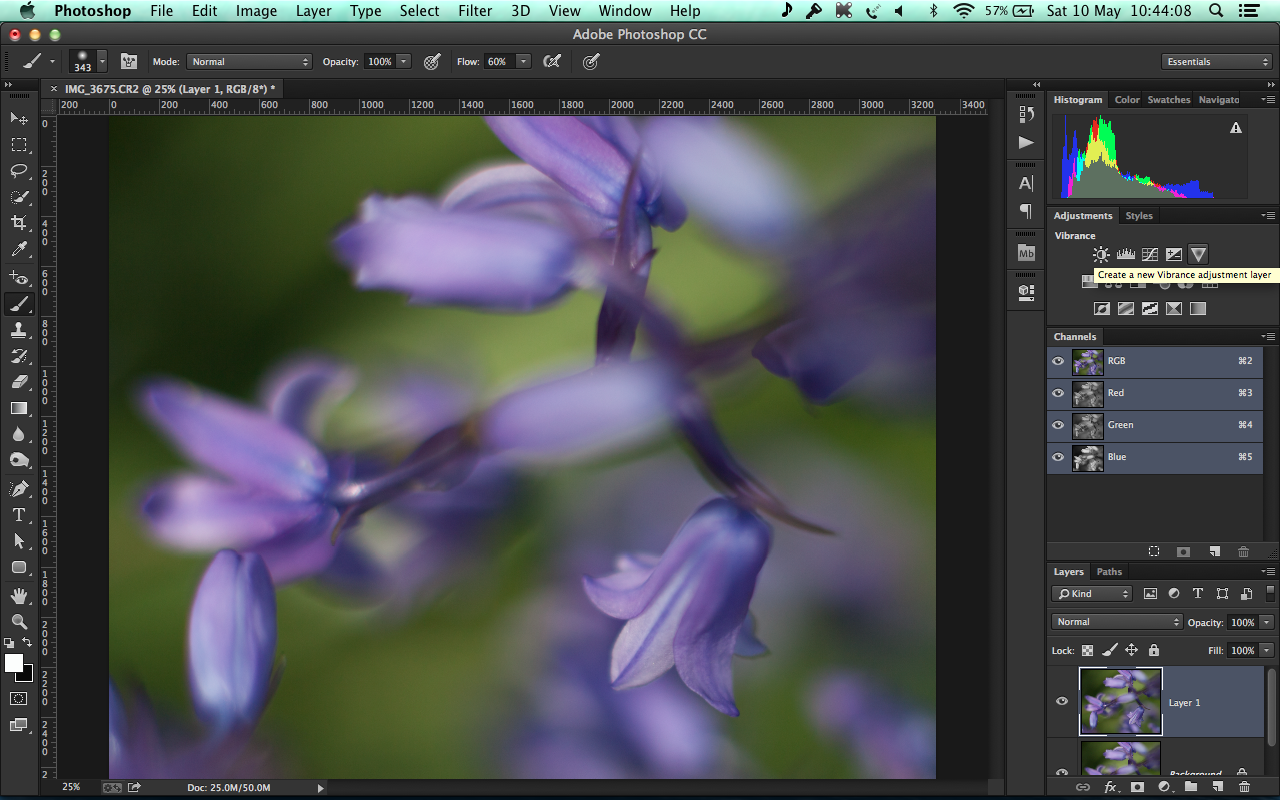
You can do this by either choosing Vibrance from the Adjustments Panel shown above or by going to Layers > Adjustment Layers > Vibrance… in the menus.
Step 3 – Push those sliders!
This is going to look extreme, but only for a moment :) Although, I’m sure some of you may think this is a great improvement! Push both the Vibrance and Saturation sliders all the way to the right…
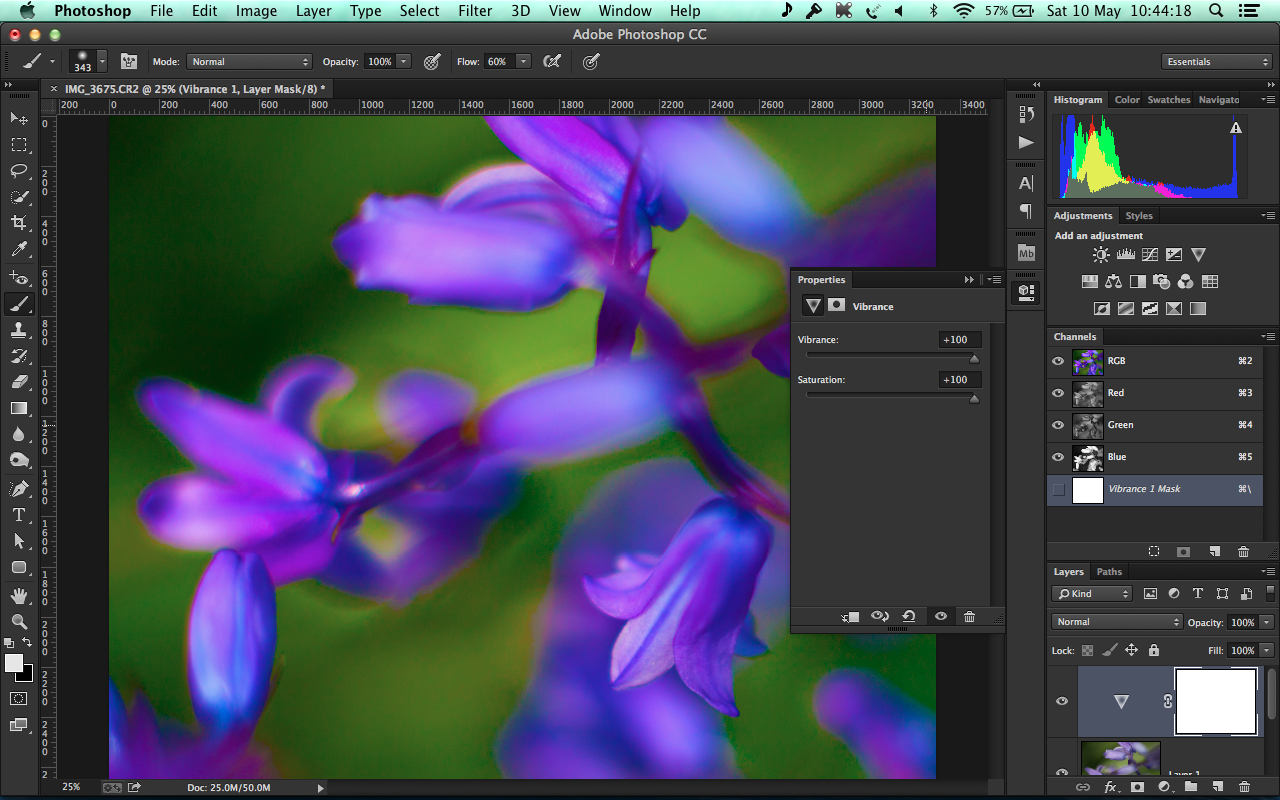
See what I mean?
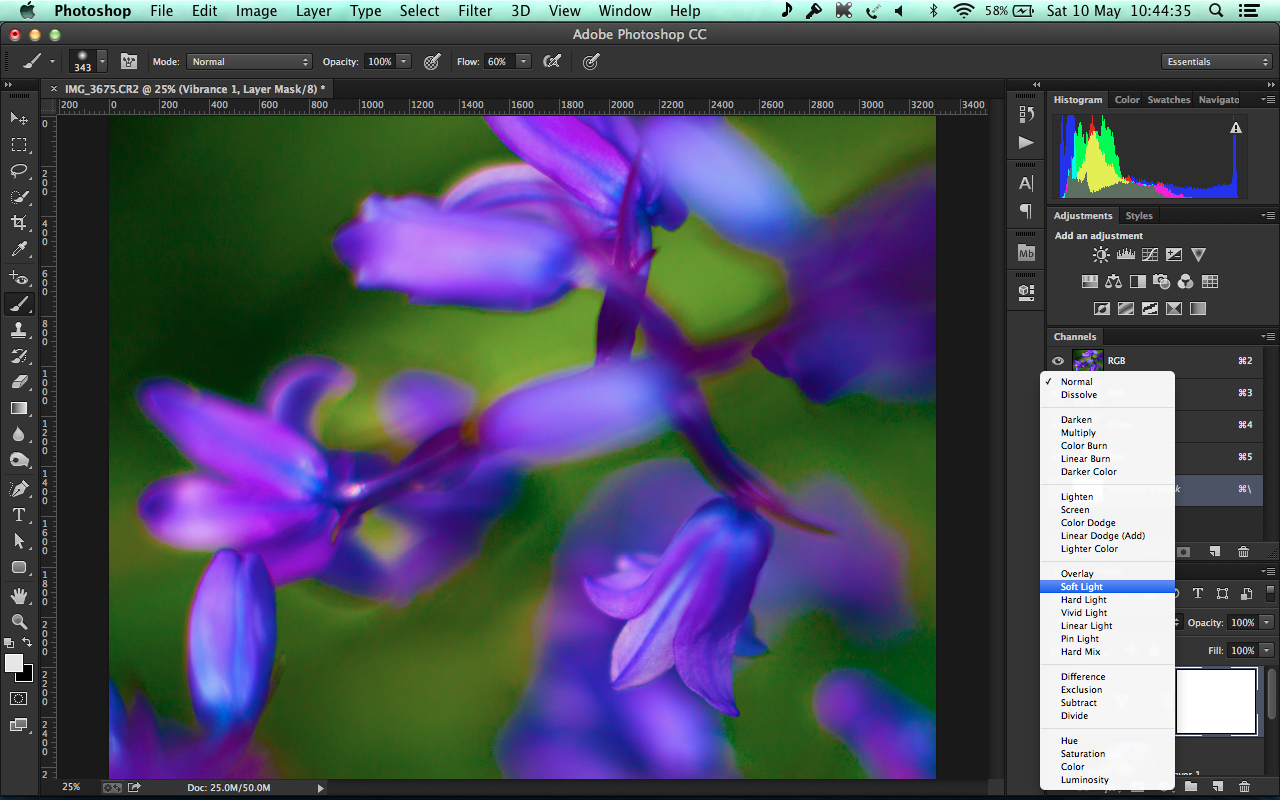
Step 4 – Set the Blend Mode to Soft Light
It’s time to make those colours a bit less… colourful. Choose the Soft Light from the Blend Mode drop down options and be prepared to be disappointed if you thought the colours above looked better :)
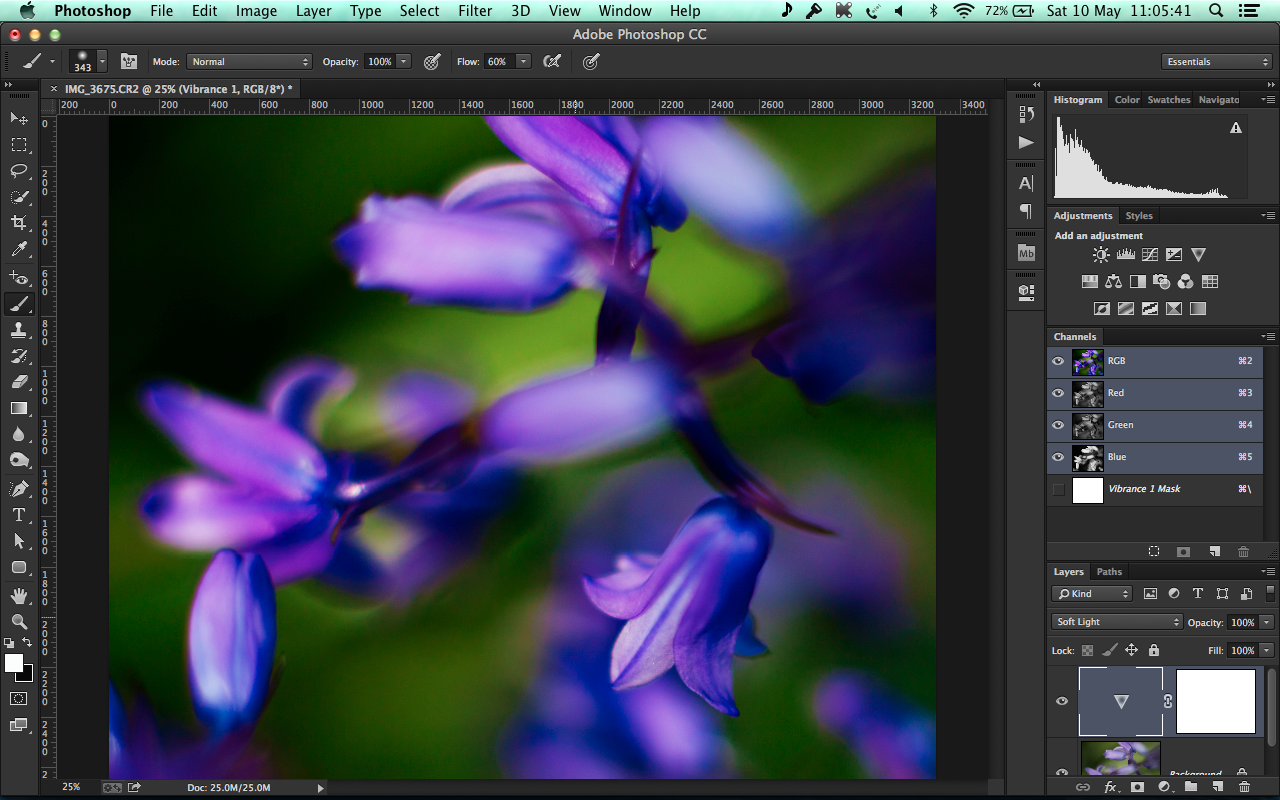
The colours still look saturated, but slightly darker. Adobe defines the Soft Light blend mode as follows:
Darkens or lightens the colors, depending on the blend color. The effect is similar to shining a diffused spotlight on the image. If the blend color (light source) is lighter than 50% gray, the image is lightened as if it were dodged. If the blend color is darker than 50% gray, the image is darkened as if it were burned in. Painting with pure black or white produces a distinctly darker or lighter area, but does not result in pure black or white.
You don’t need to memorise what every blend mode does, however it is good to know a bit of the logic behind it – or you can just play around with them to see what effect they have on your images.
Step 5 – Reduce the Opacity to your taste
Reducing the Opacity of an Adjustment Layer has the effect of reducing the overall effect of the adjustment. You do it by pushing the Opacity slider in the Layers Panel:
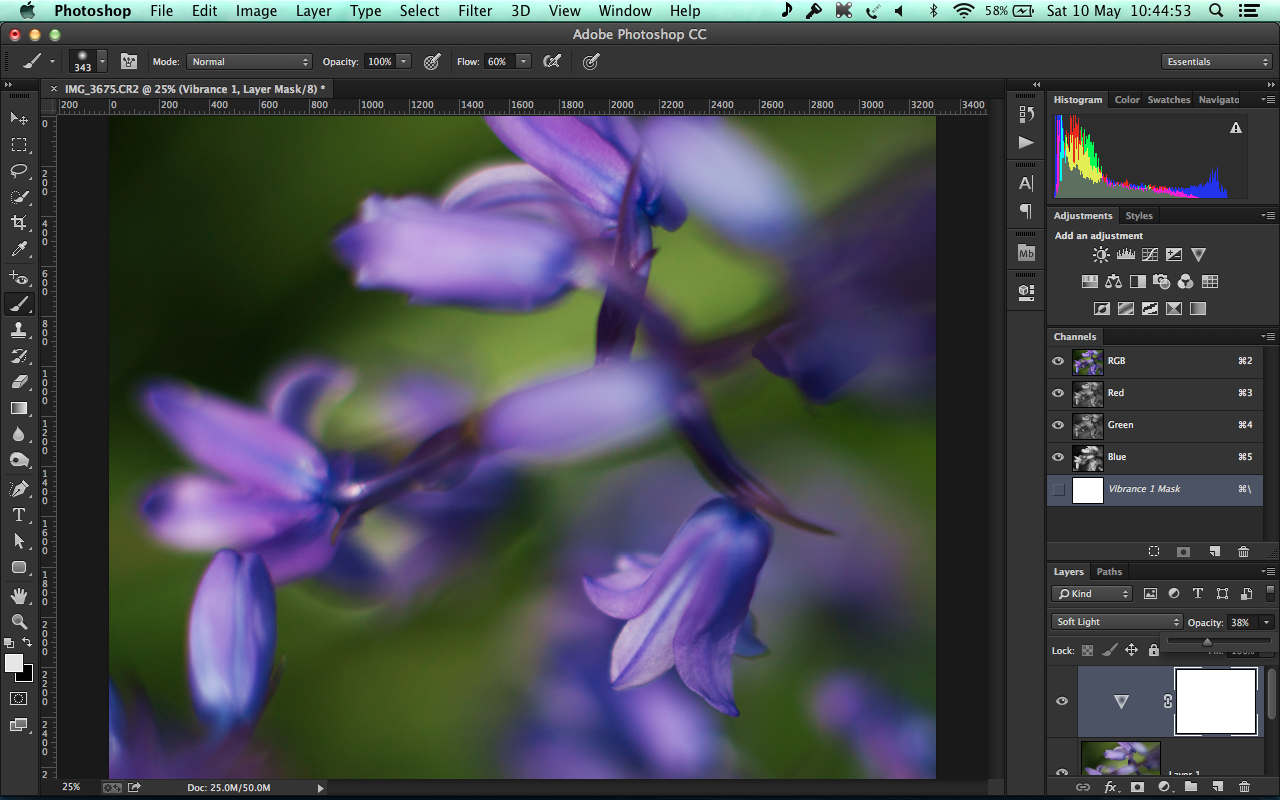
I reduced the opacity of the Adjustment Layer to 38% as I felt that was about right for how I wanted my image to look, but you just adjust it to how you’d like your finished image to look.
Before & After
Here’s a quick comparison of the image before and after:
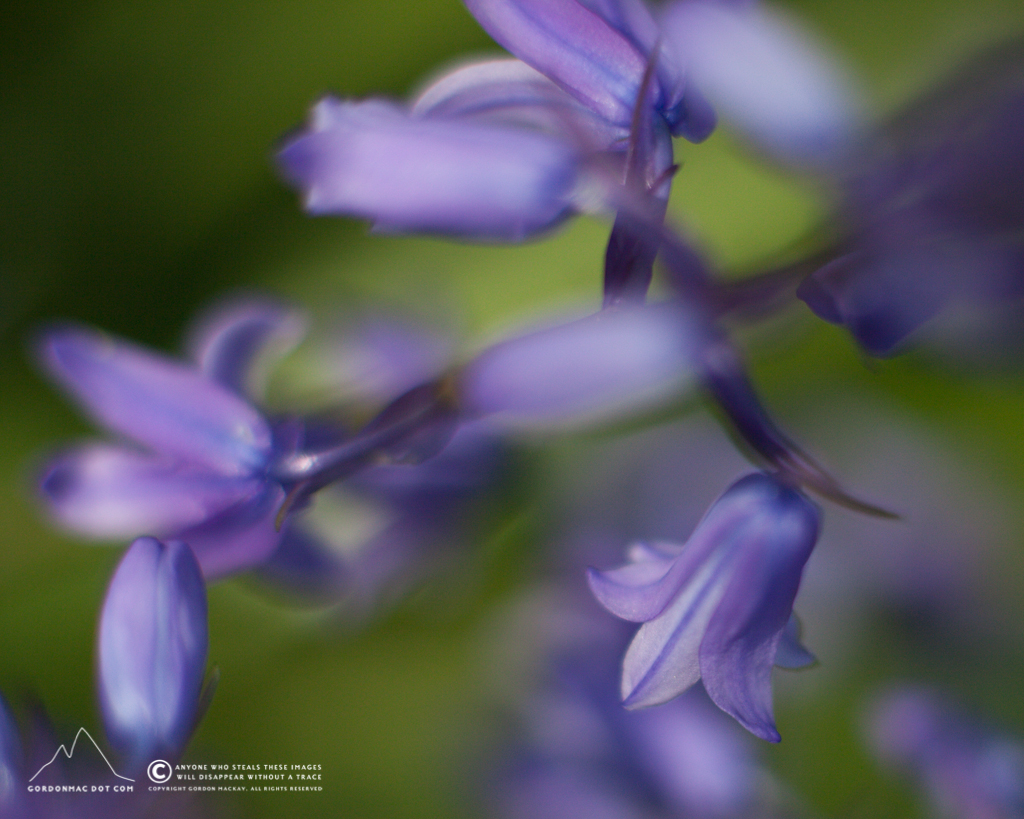
The difference is subtle, but certainly noticeable. You just have to choose how much colour saturation suits your taste and style.
Have fun :)