Auto-mounting an Apple Airport Extreme Disk Volume on a Raspberry Pi
Posted: September 8th, 2015 | Tags: OS X • Tutorials | Posted in: Raspberry Pi, TutorialsNote: This tutorial assumes you’re running your Pi with Raspbian.
This had me scratching my head for a while, but now that I’ve figured it out I think it’s only fair that I help anyone else trying to work this out!
Open up your terminal window and log into your Raspberry Pi.
Create a mount point for your Airport Disk by typing:
mkdir /home/pi/Airport
Type the command to open the fstab:
sudo nano /etc/fstab

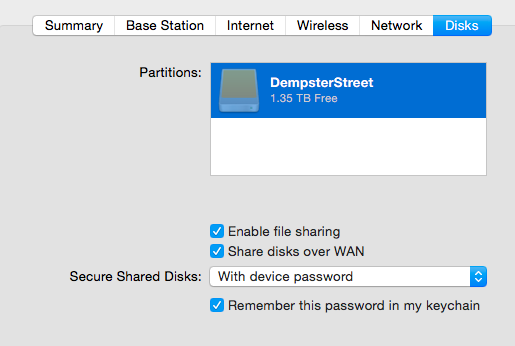
Create a new line and add the following, replacing “AIRPORTIPHERE” with the IP address of your Airport Extreme, “DRIVENAMEHERE” with the name of your Airport Disk and “YOURPASSWORDHERE” with your Airport Extreme password.
//AIRPORTIPHERE/DRIVENAMEHERE /home/pi/Airport cifs user=pi,password=YOURPASSWORDHERE,file_mode=0777,dir_mode=0777,sec=ntlm
(Note that the username is the Raspberry Pi username: user=pi)
(Note: Just a word of warning, I had a lot of problems when trying to mount a drive with spaces in the name, even when using the proper escaping.)
So my line looks like this:
//192.168.0.1/ShareDrive1 /home/pi/Airport cifs user=pi,password=************,file_mode=0777,dir_mode=0777,sec=ntlm
Press ctrl o to Write Out your changes.
Restart the Pi.
Navigate to the Airport folder and list its contents:
cd /home/pi/Airport
ls
All your Airport files should be there!
Have fun!